Thinning the Seedlings

In mid-September, I sowed the seeds for the root and leaf bed. Combined with some spinach and leek starts from the nursery, I’m really happy with this bed. I have high hopes that it will get great growth done before the winter cold and dark comes, and provide me with fresh food though out the winter and into the awkward hunger-gap months of winter/spring.

IMG_4151

The first seeds up was the arugula, then followed by the beets. Turnips, lettuce, kale, chard, carrots and kohlrabi make up the rest of the space. Just a few days ago, the parsnips finally emerged, after taking their normal sweet-ass time.
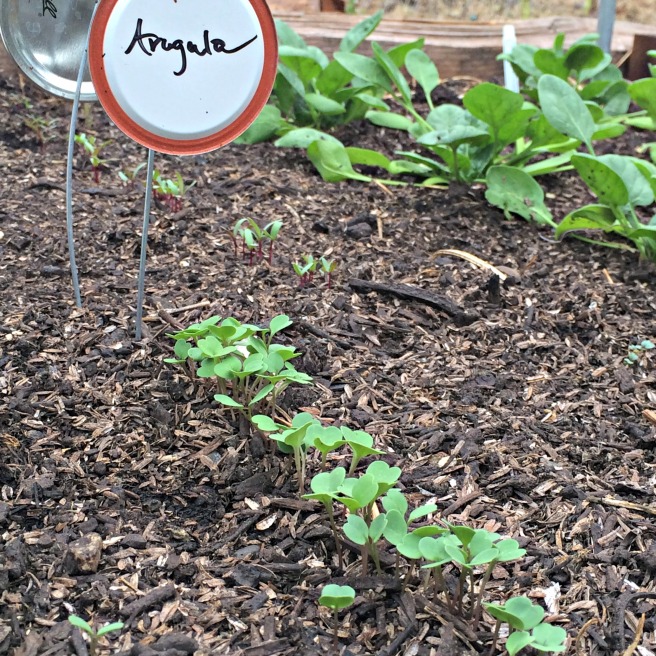
arugula, first to sprout
Arugula, always the first to sprout

I’m not going to lie, I don’t actually enjoy the gardening task of seeding. Especially when dealing with itty bitty seeds belonging to the brassica family. Don’t even get me started on how obnoxious carrot seeds are. Because of that, I make a small trench with a stick, then haphazardly sprinkle my seeds in. I don’t take the time to carefully space the seeds out, so when they emerge, I’m left with very thick rows of seedlings.
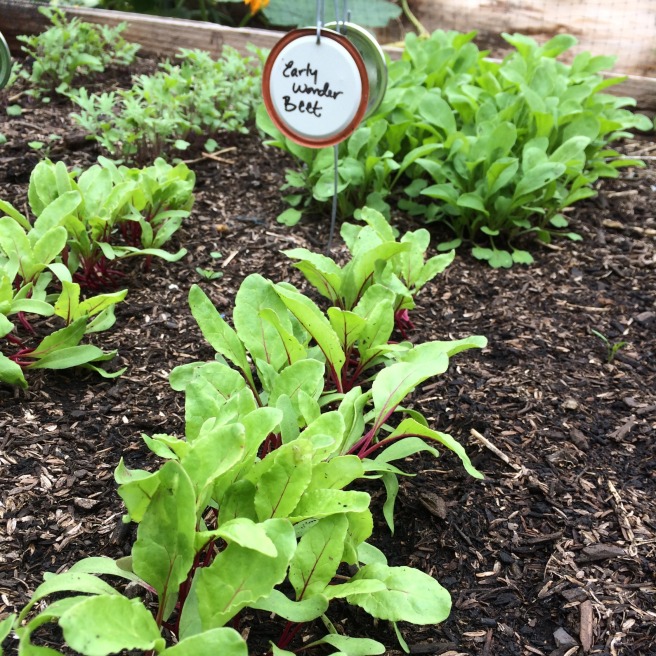
beet rows
a dense row of beet babies

Which is why now, about 3 weeks after sowing, I’m spending time in the garden thinning the seedlings. Working with the baby plants and being surrounded by new life is much more enjoyable than the previous week’s seeds and blank dirt. For a long time, I resisted thinning, feeling horrible for killing these newly grown baby veggies. The decision on which plant to cull was ever challenging for the decision-phopia person that I am:  “What if I pull the wrong sprout, and the one I leave is actually weak and will DIE ANYWAYS!!!! What if the one I’m pulling would be the better producer. What if a bug comes along tomorrow and eats all the other ones!!!!!!!! AHHHHHHHH”. Seriously, these are the mind battles I deal with. Anyways, moving on.
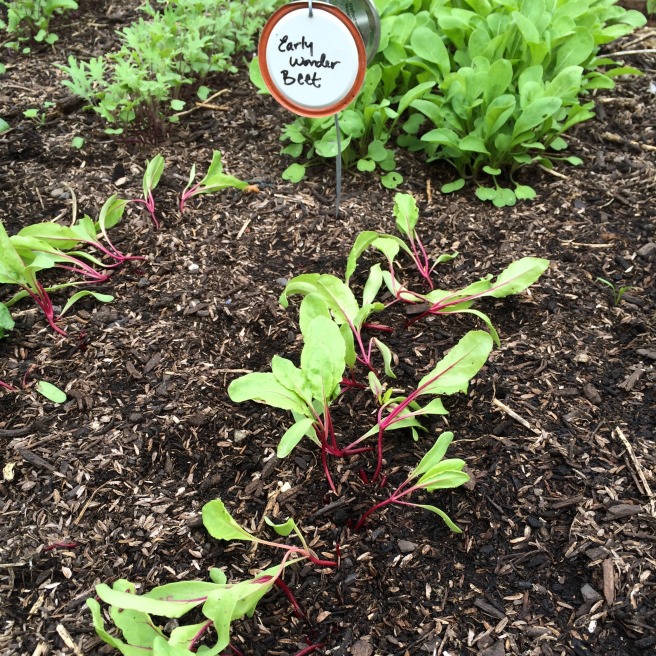
beets, after thinning.

But plants can’t grow if they are to close together, so some must be removed. Instead of just pulling them out, I use scissors to cut the stems at ground level. This leaves the roots of the surrounding plants intact, and won’t disturb the rest of the row. You can also just use your fingers to pinch the stems off, but just don’t go pulling them out! I’ve learned the hard way, no matter how careful you are, you’ll pull out some of the seedlings you wanted to leave.
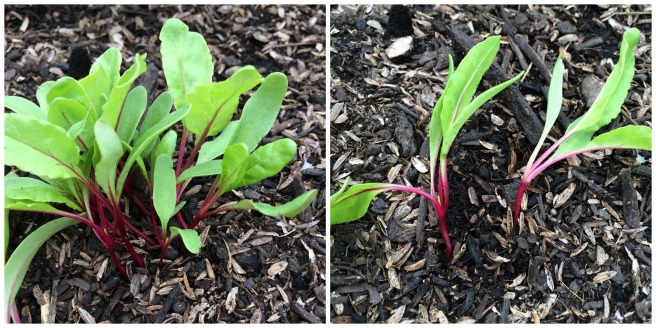
A cluster of beets, pre & post thinning

These beets, for example, I thinned to about an inch apart.  This will give an opportunity for each plant to grow a delectable baby beet about an inch big, which I will then harvest about every other plant, leaving me with a decent meal and the ability for the remaining beets to reach full size.

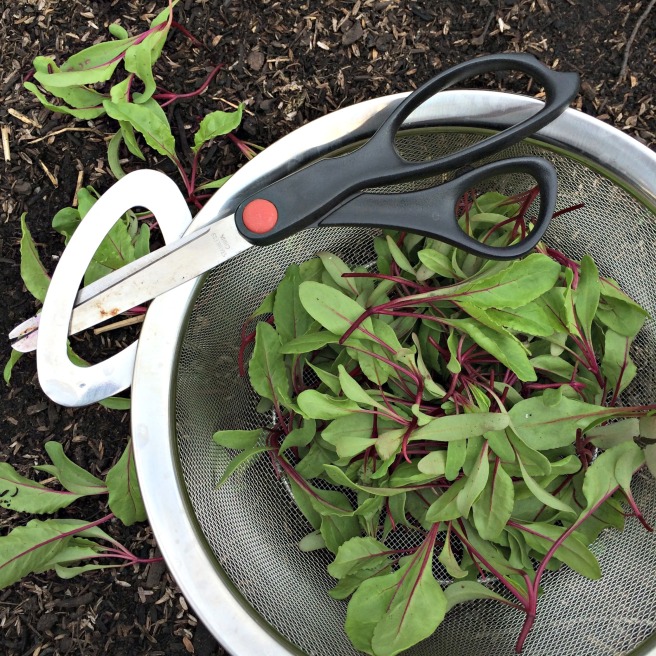
beet thinning basket

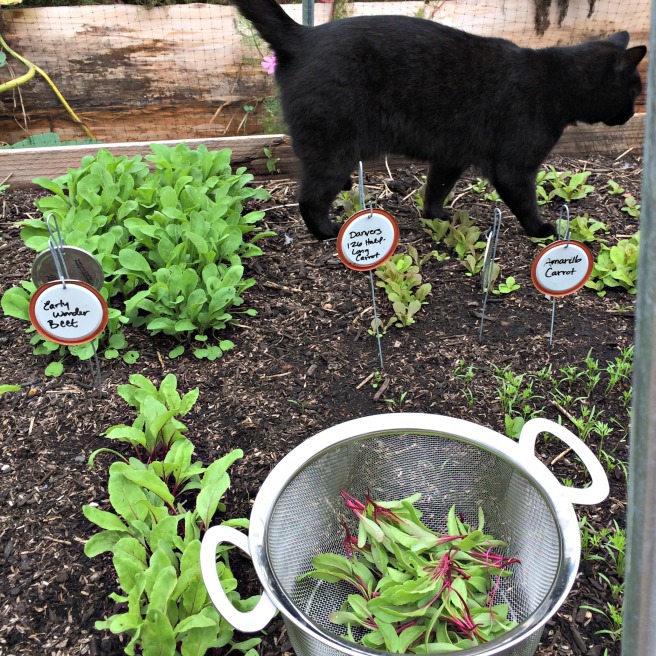
And not wanting to waste anything that comes from the garden, I make sure to save the thinnings. Or micro-greens, if you want to be fancy and pay a crap-load for in the store. They make excellent chicken treats or additions to meals. I used the arugula sprouts in a roasted butternut squash and wheat berry salad, and the beet and kale sprouts will likely go into tonight’s chorizo and black bean burritos. One more benefit of having cut out at the roots, there is little dirt to deal with.
IMG_4095

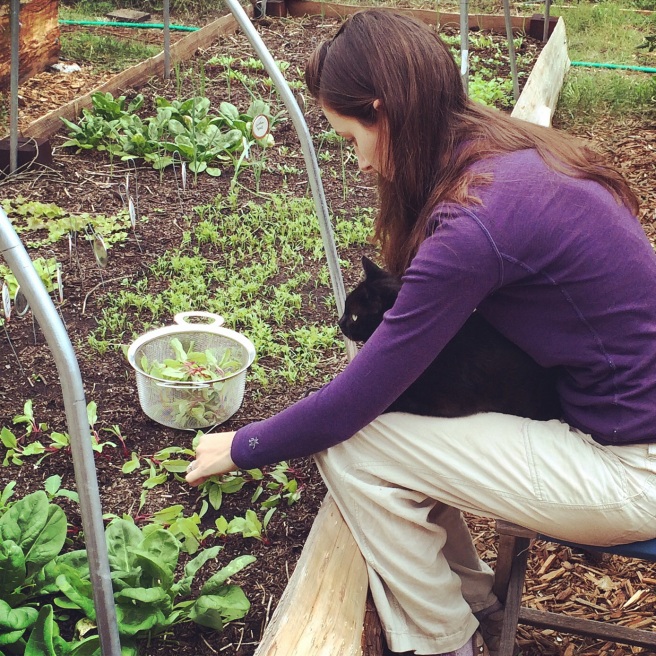
bacon in bed
Bacon, being a dick so helpful, supervises my work. I keep my beds covered in bird netting, not to keep birds out, but to keep perpetually annoying cats outs.

As always, I’d love to hear from you! What’s going on in your garden? What’s your feelings on seeding and thinning? Are you cats equally as helpful in the garden?

It’s the Time of Favas!

If organic gardeners, historians, and seasonal eaters got together and had to choose a plant as their mascot, I’m pretty sure it would be the fava bean.

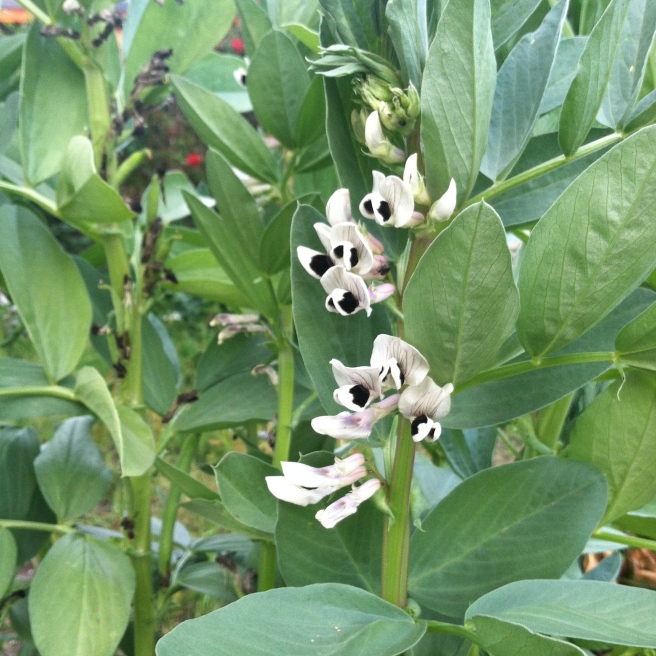
fava bean, cover crop

Planted in the fall, fava beans are hardy to the cold and don’t need much water. While they will thrive in a garden bed, they also do just fine growing in poor soils. Many people plant fava beans exclusively as a cover crop, to fixate nitrogen and improve the soil. If they are grown for this reason, they need to be tilled into the soil when they start to flower. In our garden, that inevitably doesn’t always happen, so after a period of delightful black and white blooms (which the bumblebees love), we get fava beans.

IMG_2432
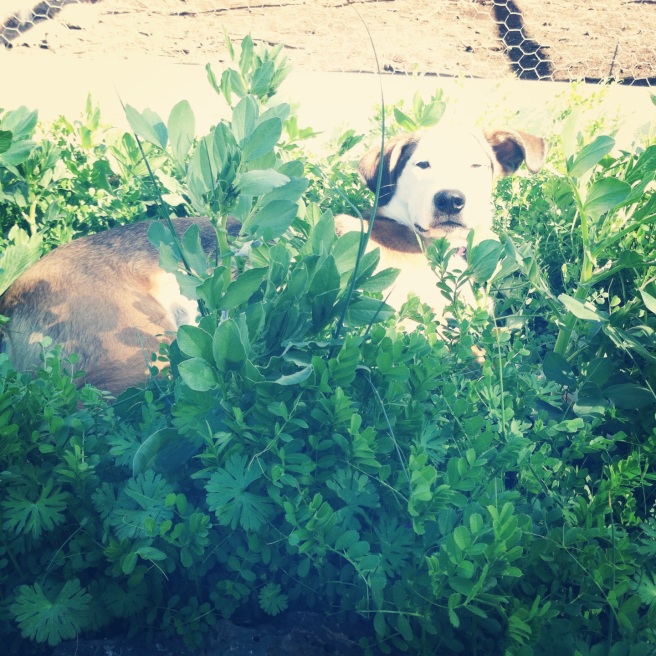
Stella naps behind the beans

Known to be one of the oldest cultivated plants, fava beans have been in diets since 6,000 BC. In England the are known as broad beans, horse beans, or shell beans. The Spanish call them habas. The French, haricots larges or fèves. In German,  gross Bohnen or Pferdebohnen and in Italian, fave. They are considered a bean of the “old world”, and where the only bean Europeans ate until America, and its “new world beans” (such as black, navy, or green) were discovered. The bean in the legend of Jack and the Beanstalk is thought to be a fava bean.

While not typical in the standard produce section of a grocery store, these bright green beans in floppy pods are a welcome sight in Spring gardens and farmer’s market. Often the first spring veggie, the buttery, slightly bitter and nutty beans are a delightful change to the kales and greens many of us have been eating all winter. Fava beans have long been diet staples in Asia, the Middle East, South America, North Africa and Europe. Perhaps one of the reasons why they haven’t quite caught on in America? They are a pain in the ass to prep. 

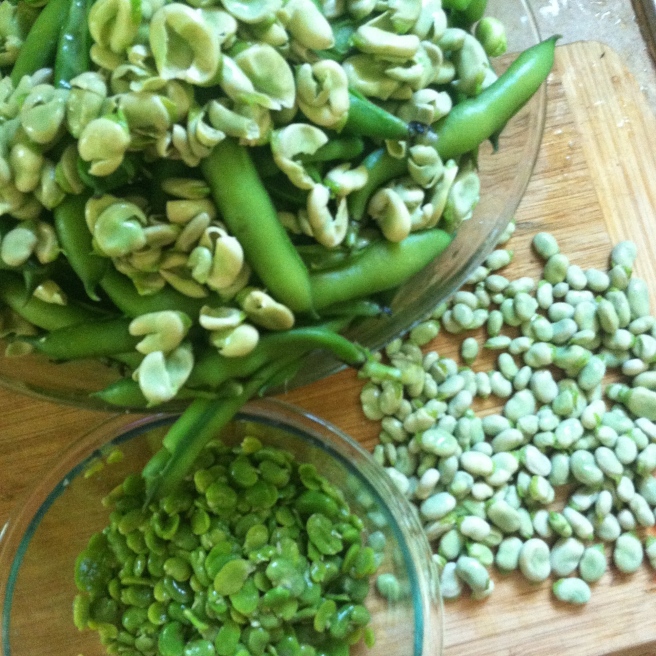
how to prep fava beans

Fava beans have to be double shelled, which takes forever and is as dull as staring at a wall. I’ve tried to approach a zen like attitude to it, but haven’t quite mastered that. Which is why I usually do one big batch, have a few excellent meals, and leave the rest for the compost. This would be an excellent group activity, complete with a glass of wine. But Stella hasn’t learned to help in the kitchen other than licking the oven front, eating things off the floor, and occasionally stealing off the counter. Which is a shame, because the fava bean flavor is unique, and they are dense with nutrition. They have a high concentration of thiamin, vitamin K, vitamin B-6, potassium, copper, selenium, zinc and magnesium, and are an inexpensive source of lean protein. According to this article, fava beans have also been discovered to contain similar properties of the quinine based medications used to treat malaria: making a literal case of food is the best medicine.

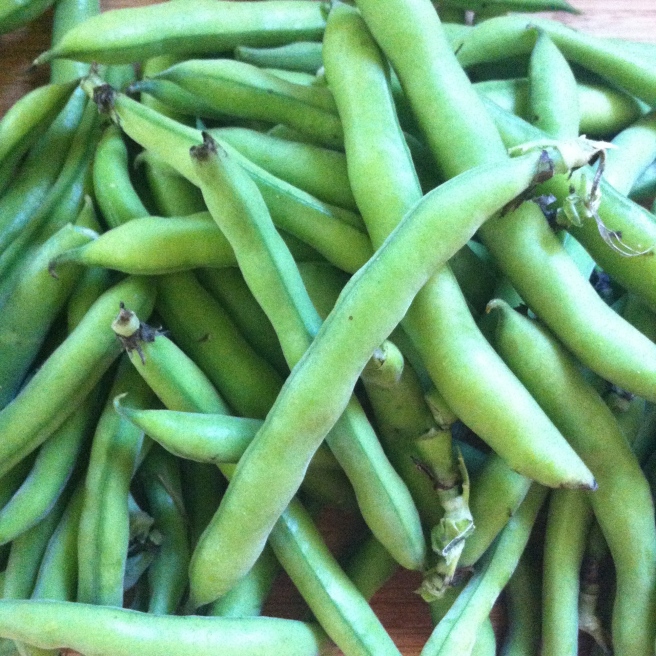
Many guides on how to shell favas recommend removing from the outer pod first, then blanch the individual beans before embarking on removing the 2nd shell. I find that blanching the pod whole, fleshy covering and all, to be easier.

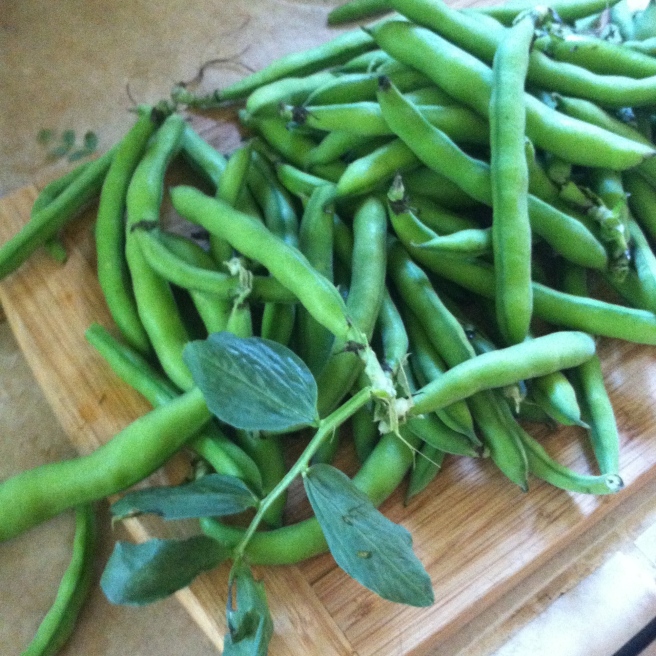
First, harvest or purchase your beans. If you are having trouble finding them at a store, or don’t have a local farmers market, try the Latino or Asian markets. They are also a common dry bean in the bulk section of well-stocked grocery stores. I’ve never used them in this form, but there are many recipes available. Once you have the fresh beans, but can’t  deal with them right away- I find they are fine in the fridge for quite a while. The thick pod keeps them holding up much better than other beans.

IMG_2859


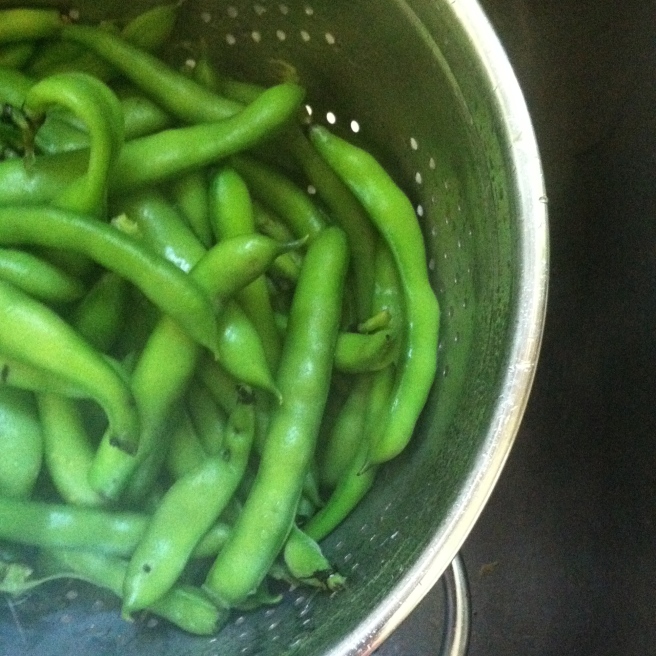
Then, add to a pot of boiling water and blanch for 5 minutes. Strain and run cold water to stop the cooking. Even better, dump in a pot of ice water.

IMG_2867

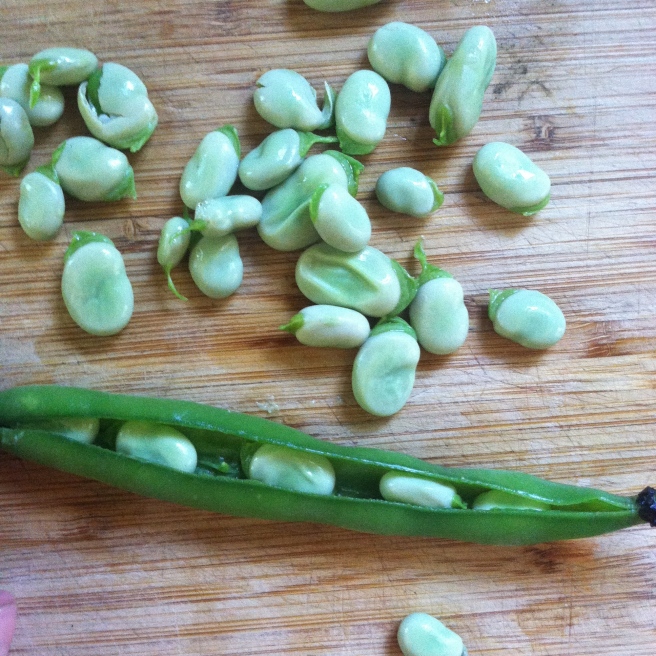
Once cool to the touch, open up each pod and pull out the individual beans. Compost the outer shell. Pinch the individual beans to remove from the 2nd shell. Also put those shells in the compost pile.

IMG_2866

1 pound of whole pods will yield about 1/3 cup of the beans. A lot of work, but worth it for this seasonal treat.

IMG_2871


When it comes to eating them, look towards their native area for inspiration. The beans pair well with other Mediterranean ingredients: salty cheeses, cured meats, olive oil, sun dried tomatoes. Last night’s meal was simple pasta topped with crisped pancetta, favas, sautéed fresh onion, lemon thyme and a grating of pecorino. It was delicious!

“If you are a dreamer, come in, 

If you are a dreamer, a wisher, a liar,

A hope-er, a pray-er, a magic bean buyer…

If you’re a pretender, come sit by my fire

For we have some flax-golden tales to spin.

Come in!

Come in!”

-Shell Silverstein, The Invitation

Foraging and Harvesting Walnuts

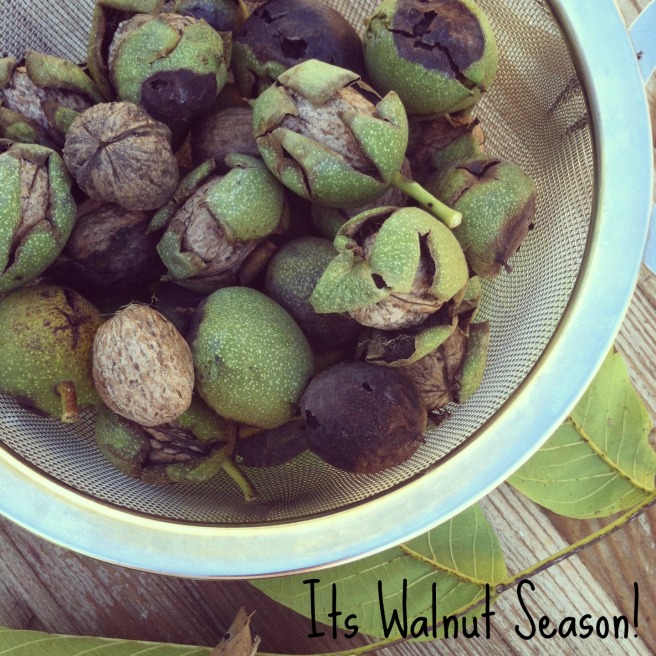
Walnuts, along with other nuts, are great to have on hand in the kitchen, and they are filled with nutrients essential to a healthy diet. Some of the most frequent way I use walnuts are chopped into a salad or pasta, or pair with apricots, goat cheese, honey and thyme for an amazing hor d’oeuvre. Luckily, its walnut season in Sonoma County, and now is the time to harvest and forage!

Walnut Season

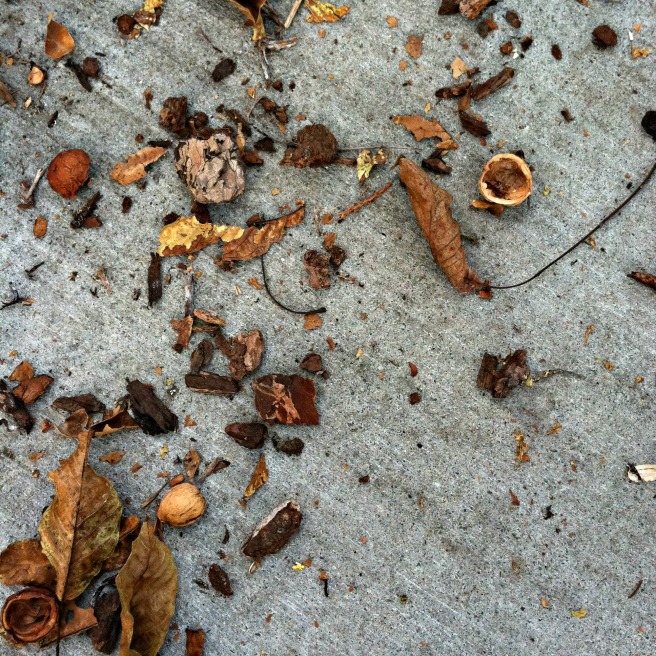
I live on the cusp of one of the historical districts in Santa Rosa, and its streets are lined with huge walnut trees. The trees grow fast when young, and reach a mature height of 40-80 feet. I found an article from a neighboring county dated May 1911, detailing the town’s streetside walnut planting project. They provide great summer shade, and are deciduous and lose their leaves in the fall. They can be messy, though, when its time to drop their fruit. They also attract crows, whom love the nuts, which partially explains why there is a constant population of well-fed and highly annoying crows in Santa Rosa. If you don’t know how to identify walnut trees yet, just look down. The sidewalks are littered with both old shells and new fruit.

walnuts on sidewalk

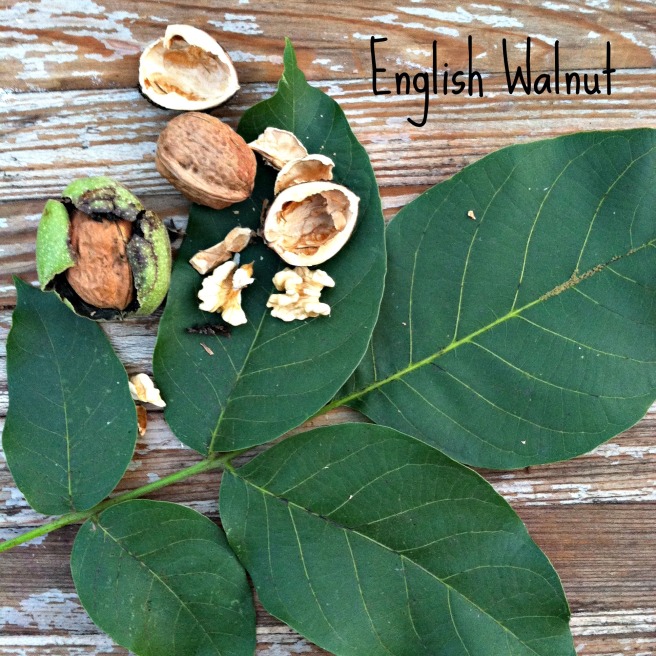
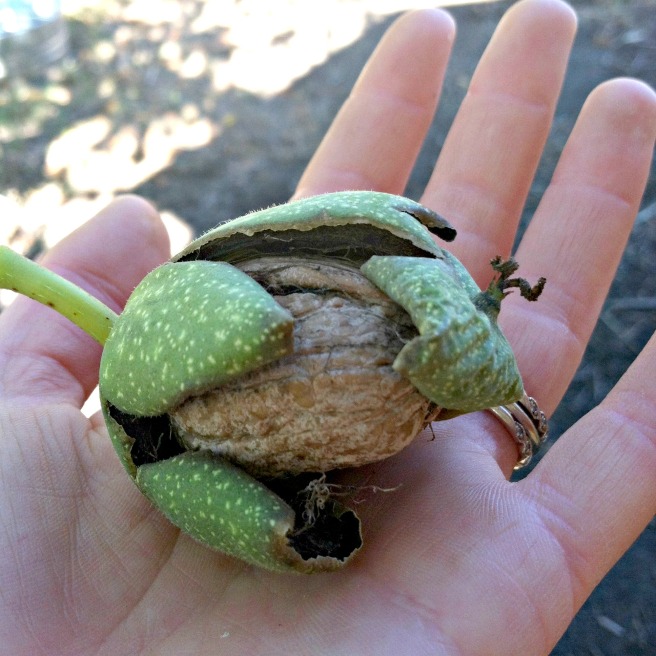
Walnuts have been cultivated for millennia, and grown in the Hanging Gardens of Babylon, 2000 BC. Today, there are two main types of walnuts: English and Black Walnuts. The Greeks discovered the Persian Walnut and cultivated it to produce what we know as the English Walnut. These are the most common type to find in the store if sold in the shell, and the type you are eating if you have walnut halves. English Walnuts can be identified by 5-7 wide oval leaflets, and smooth grey bark. The nuts come in velvety green husks, which split open as they become ripe. Often the nut will fall from the fruit, and you just have to gather up the whole shells, or sometimes the husk and the nut will fall to the ground together. They are relatively easy to crack open with a hammer or a nut cracker, and will split open to reveal 2 walnut halves.

English Walnut

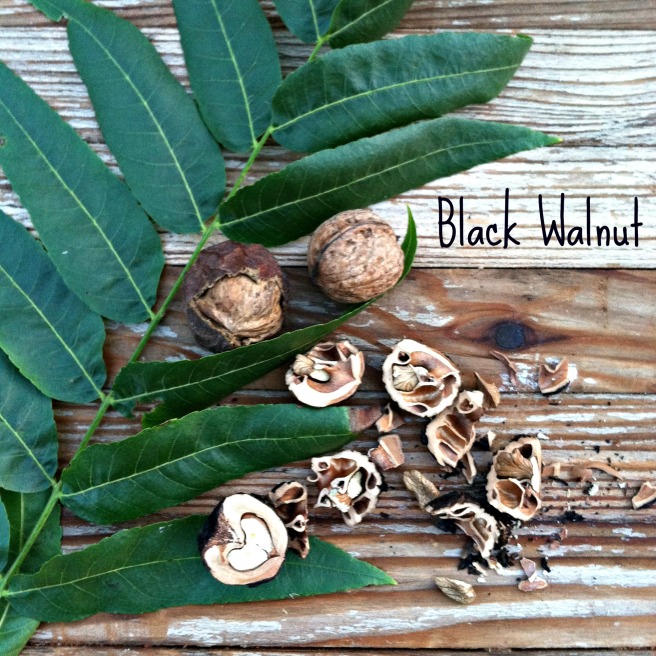
Black Walnuts are native to North America. Archaeological evidence shows us that native people were consuming walnuts as long ago as 2000 BC. In addition to a food source, they also used the staining juice from the husk’s as a dye. Walnut hardwood also comes from this variety of walnut. Black Walnuts can be identified by deeply grooved dark, almost black, bark. Its leaves have 15-20 narrow leaflets. Black Walnuts are smaller and more round, and ridiculously hard to crack open. The shell grows intertwined with the fruit, making it very difficult to remove the nut meat. Black Walnuts have a stronger flavor and some say they have a higher nutrient level than the English variety.

Black Walnjt

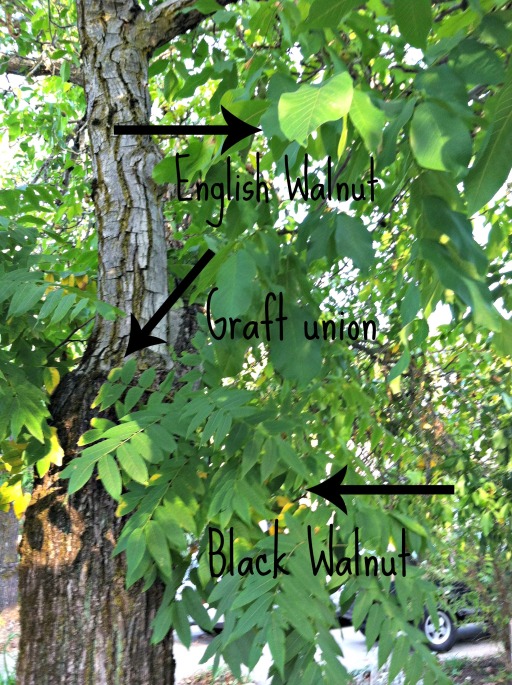
Because of the difficulties Black Walnuts provide, English Walnuts are the most common type to have for kitchen use. If foraging, locate a tree based off its leaves. Almost always, English Walnuts have been grafted onto Black Walnut rootstock. The English variety produces a more desirable fruit, but they are more susceptible to Walnut Blight and have a weaker root system. Black Walnuts, being native, are more resilient, so trees that are planted will be grafted. Depending on how well the tree is maintained, you often find black walnut branches come from below the graft.

Graft union

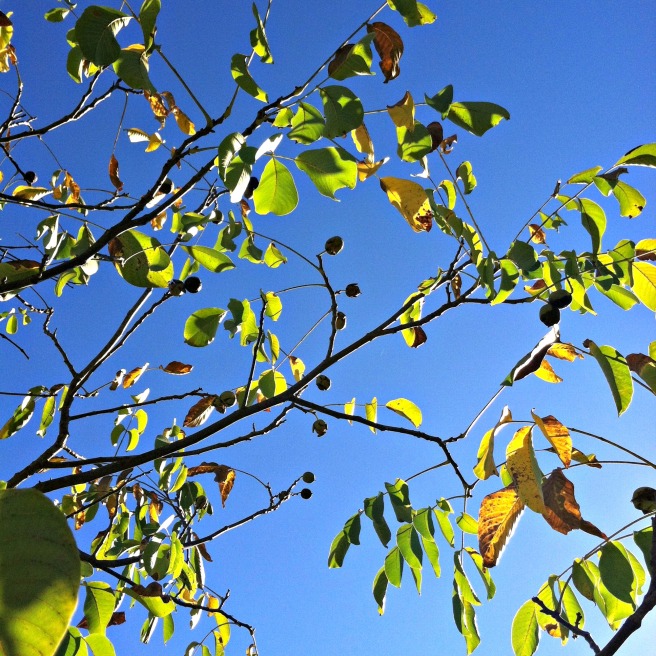
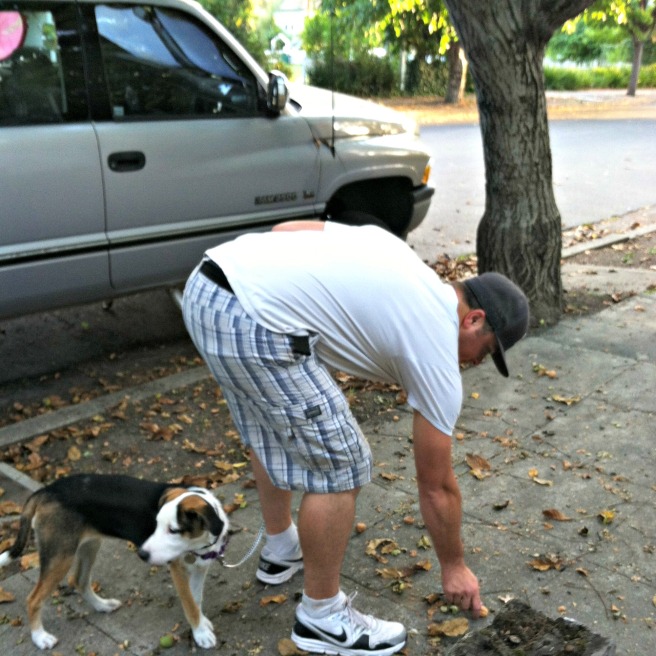
In my yard, I have a very small English Walnut tree. It is in a random location, and because it is not grafted, I’m assuming it was not planted but sprouted naturally from a nut that got carried and forgotten about by a crow. Despite its size, I did get a small basket worth of nuts from it. To harvest, you can either wait for the nuts to fall from the tree and collect off the ground, or you can knock them off with a stick, and then collect off the ground. If you are foraging, just walk around town and collect off the sidewalk and the gutter. Going after a windy day is the most productive. Bonus points if you can get your husband to go with you. Keep reminding him “its free food” if you meet resistance. If you see a tree in someone’s yard, don’t be afraid to knock on their door and ask if you can collect the nuts. Most people will be greatful, as many see them as a nuisance.

walnuts against sky

picking up walnuts

Remove as much of the husk as possible, and then set in the sun to “cure” for about a week. Then, you can either store whole or spend the evening cracking and removing the meat. If you do remove the meat, I recommend storing in the freezer, as nut oils go rancid very quickly. Whenever working with green walnut husks, regardless of English or Black variety, be conscious of your surfaces and consider wearing gloves. The juice stains like crazy. If you are getting married in a few days and didn’t plan on painting your nails, take my advice and just don’t touch walnuts. Seriously, or you will have to get a dark color on your nails to hide the stains. Trust me.

holding walnut

Happy Harvesting!

Santa Rosa Heirloom Expo

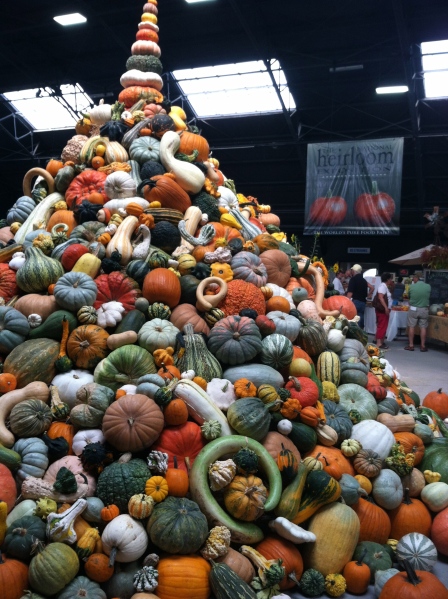
Today is the third, and last day, of the Heirloom Expo! Also labeled as the Worlds Pure Food Fair, this awesome festival held at the Santa Rosa Fair Grounds is about all things Heirloom.

IMG_0951

For something to be considered an heirloom variety, it means they have a long history of being cultivated and saved within a family or group. They evolved by natural or human selection over time. Heirloom seeds are all public domain, open-pollinated, and can be saved from generation to generation. There are heirloom seeds, traditions, poultry and livestock all represented at this festival, as well as a back to back schedule of workshops and lectures.

IMG_0964

We went on Tuesday, and had a great time viewing the tables and tables of veggies, talking with heirloom seed companies, petting a Scottish Highland cow, and watching people spin wool. We sampled apples, bought some quinoa seeds, and looked at the latest gardening books.

IMG_0947

If you have time, make sure to stop by the festival! Visit www.theheirloomexpo.com for all the details and today’s speaker’s schedule.

Here are some more images from our adventure there:

This slideshow requires JavaScript.

“By planting heirloom seeds, you have become a steward of our food heritage, a link in a chain that goes back thousands of years. Use these seeds to grow food, but please save the seeds, share them with others, and replant them again…”


It’s Apple Season!

It’s apple season here in Sonoma County!!!

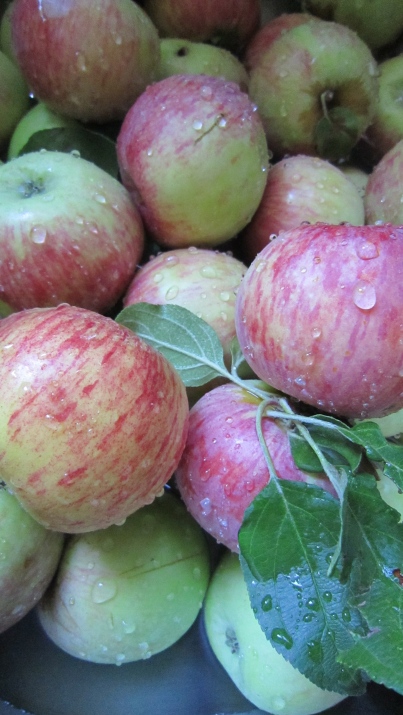
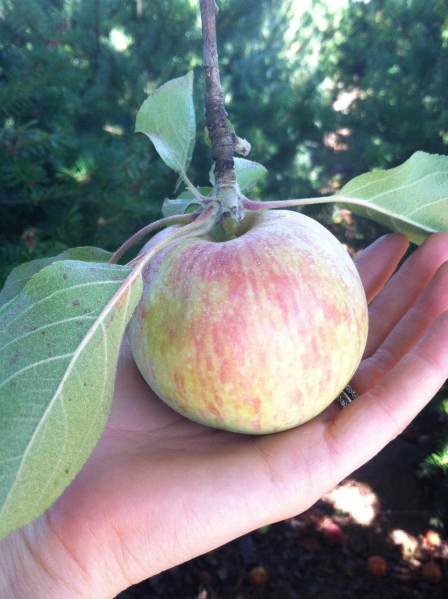
Gravensteins, to be exact. This early variety of apple was originally brought to California by Russian settlers around 1790. For over 100 years, Sonoma County was praised for its fruit trees, and Gravensteins were a major crop. At the turn of the 21st century, however, like many of our heirloom fruits, the Gravenstein started to disappear. Vineyards ended up being more profitable, and many farmers were  forced to plow under their generations-old orchards home to scores of varieties of apples, peaches, and plums to grow grapes, primarily for large-scale wine production. But these heirlooms are are still around, and there are old trees scattered about the county. And, thanks to Slow Food’s efforts, Gravensteins are making a come back!

IMG_5478

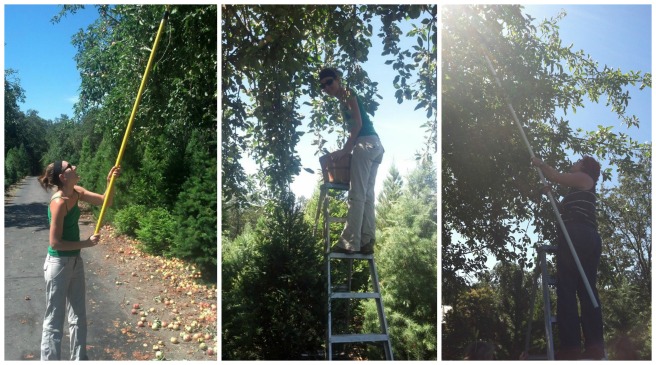
I was able to get my hands on a bunch of apples because of this great project called CropMobster. Farmers and organizations can send out alerts about extra produce, and advertise either gleaning opportunities, harvest parties, or uber discounts on gluts of produce. I get their alerts and when a local Christmas tree farm announced their ancient Gravenstein trees had a bumper crop, and anyone could come and pick, I jumped at the opportunity.

picking apples

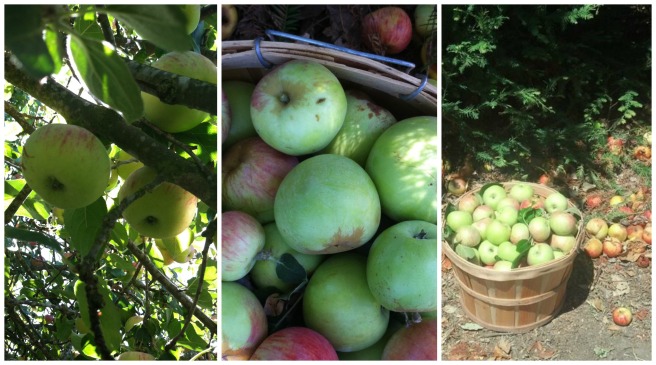
My friend Adriann came along, and together we filled the back of Matt’s company SUV with bags, buckets and baskets. I’d guess we gleaned at least 100 pounds. I took 3 bags full to the food bank, and we split the rest.

apples

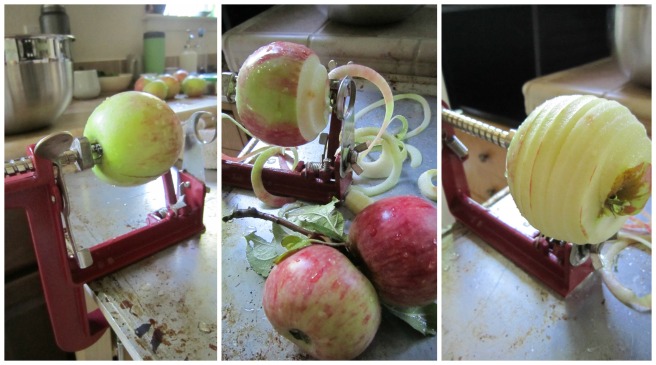
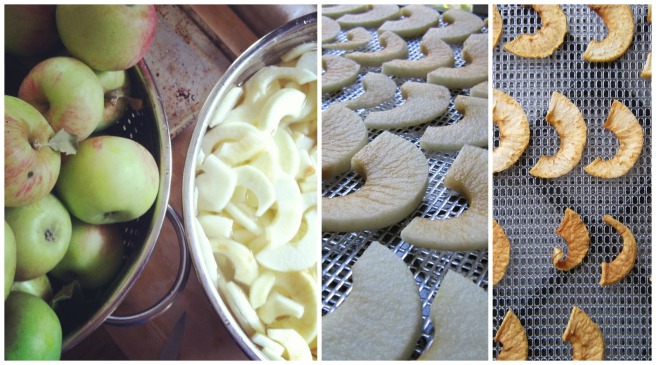
During apple season, my old school apple peeler is hands down my favorite kitchen tool. Have you ever used one of these? Stab the apple on the prongs, then crank away. The peel comes off in one strip, and the core is cut out, leaving you with (almost always) perfect apple rings.

peeling apples

The first few buckets went into the dehydrator. After drying 3 gallons worth, I moved onto apple sauce.

drying apples

I’ve canned a dozen or so jars of apple sauce, and have some in the fridge waiting to be put into the crock pot to become apple butter. I found a recipe for carmel apple jam, that I hope to try as well. I also tried to can slices in a light syrup, but I got mostly mush. There are two ways to can whole or sliced fruit: hot pack or cold pack. Cold pack means you put raw fruit in a jar, and pour hot syrup over the fruit, then process. Hot pack involves simmering the fruit in the syrup for 5 minutes, then packing the jars and processing. According to both my Ball Preserving book and my Better Homes & Garden’s canning section, you can’t cold pack apples. Gravensteins are known for their excellent apple sauce, which I think is partially because they mush so easily. Next time, I’ll save the canning of slices for a firmer apple, like Granny Smith. I’ve still got more sauce to go, and hopefully some jars of apple & pear chutney.

IMG_0780

Gravensteins have a short season. Like so much of our treasured fruit, they come in a flood and then they are gone. So despite the past few weeks complaining of having a sticky floor, not being able to sit at the table because its covered in fruit, and the apple peeler taking up valuable floor space while attached to the temporary island, come the rest of the year, I’ll be glad of my hard work.