This blog has moved!
New posts can be found at http://sweetbeegarden.com/blog.
Hope to see you there!

Happy Solstice!
 Just as the season is changing, so is this blog. For years I have wanted to help people live more sustainably, though gardening and homesteading, and I’ve shared my experiences with you though this blog, but I’m excited to take the next step.
I’m starting a new chapter in the book of life, and I’m combining my knowledge, passion and creativity to open a design, consultation and coaching business. Continuing my writing like I have on this blog is a big part of it, so I’m rebranding this blog under my new business name: Sweet Bee Garden.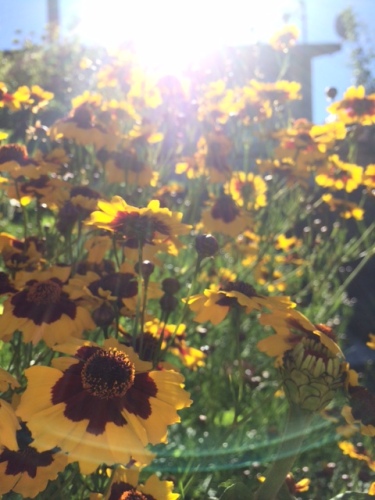
After this post, I’ll no longer be writing at this address. All new posts can be found at sweetbeegarden.com/blog. I’ll be writing regularly, at least once a week. This site will remain up in case you want to reference an old post, but I’ve also migrated them all the the new blog. It will remain ad-free and sponsor-free, and you can expect the same style of writing and content. I’m making the commitment to write more often, as well as share more detailed how-to projects and garden inspired recipes.
If you don’t already, I’d love it if you’d follow me on Instagram at MelissaKeyser, on Pinterest at Sweet Bee Garden, Facebook at facebook.com/sweetbeegarden, or on Twitter at sweetbeegarden.
I hope to see you at my new site! If you choose not to join me as I continue my homesteading adventure, I want to thank you for reading and your comments!
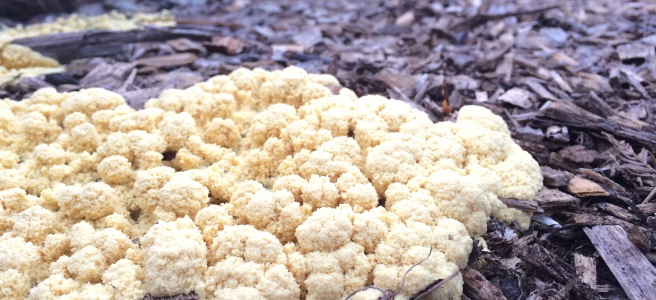
Yep, you read that title right. Dog Vomit Fungus. My garden has it ALL OF THE PLACES!!! Also known as scrambled eggs fungus, it basically looks like the dog was sick all over the place. I’ve taken up calling it mulch puke. 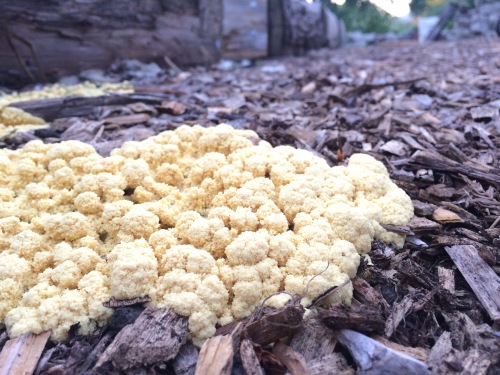
Technically a slime mold, dog vomit fungus usually appears in clumps, growing on mulch, the bases of rotting tree trunks, or other wooden objects. It is most often found in moist, shady areas. We’ve had small spots of it earlier this spring, but today is was everywhere. Why it decided to colonize on the first almost 100 degree day we had, I don’t know, but apparently my garden is a desirable place for it. 
Slime molds reproduce by spores that travel by wind. Apparently, they are very resistant, and can survive even during hot, dry weather. The spores can remain viable for several years, waiting for conditions to be right. When conditions are ideal, dormant spores absorb moisture and crack open to release a swarm sphere, and shortly after, the dog vomit appears. It is light yellow when its young, and textured like cauliflower or those old-school Magic Crystal Gardens. As it ages, it turns more brown and firm, eventually developing these yellow streaks that look like gel icing or egg yolk, which I’m pretty sure are the reproductive organs. Sadly I don’t have a picture to share. You’ll just have to imagine it. 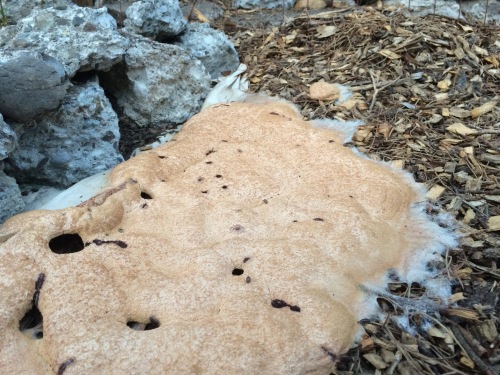
Normally I don’t care about fungi that show up in my yard; I actually get excited because it means my soil is alive. Fungus and mushrooms are not diseases, but are organisms that are eating decomposing materials. While not fungi, this slime mold plays the same ecosystem roll. Since I use lots of arbor mulch, I’m not surprised to find it eating up my pathways. One more factor that is improving my soil! In addition to my mulched paths, I’ve also found it on top of the soil in my beds and on the edges of the beds. 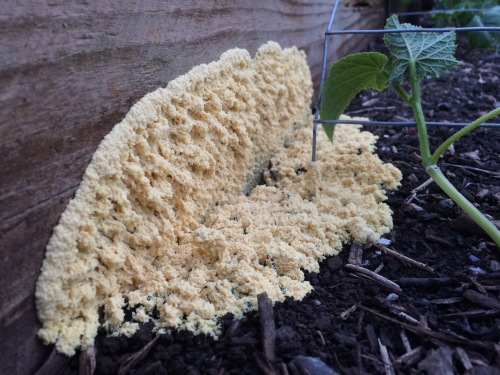
Although rare, dog vomit can smother plants if the colony gets big enough. I’m observing it spread right over some of my seedlings and plants, but they seem to be doing fine. The recommendations for getting rid of it is to change out the mulch, or rake out the best you can. It isn’t toxic, so all of that seems way to much effort for something not that big of a deal, that probably won’t go away anyways. So other than poking at it with a stick and proclaiming how weird it is, I’m just letting it be. If you come by my house, don’t worry, Stella is as healthy as can be. Its just the dog vomit fungus!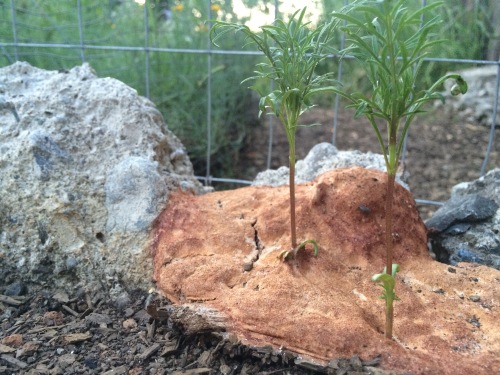
Today (at least here in the US) is Earth Day, a day traditionally used to inspire and motivate people to lighten their environmental footstep. Chances are, your social media and blog post feeds are filled with advice on how to “live greener”, causes for activism, and a variety of other tips. We’ve all heard and read about all the things we can do to make a difference. This is not another one of those posts. 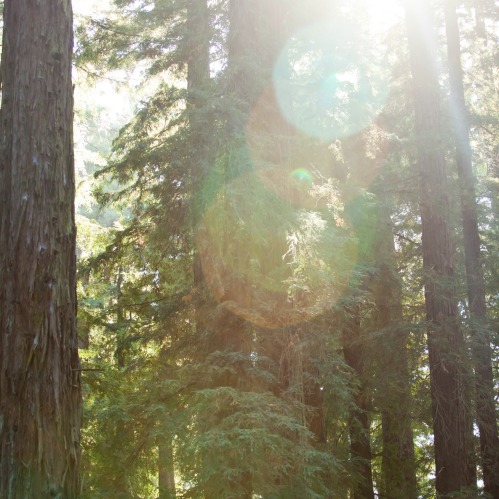
Instead I wanted to write about the way I think will lead to positive change: how to get to know nature.
In my experience, if you know something or someone, you are emotionally involved and you CARE about what happens. You might see a lost cat poster and feel sad, but you continue about your day. Yet if your own cat goes missing (or child, if you are more in the camp of human children than furry creatures), you will be more deeply affected and go out looking or make calls or post notices. You might read about a wild area being developed a few towns away, but it makes no difference to you. Yet if you played hide-and-seek there as a child and picnic there with your family, you might show up to the planning commission meeting and share your voice on opposing the project. 
While I have no psychological training, I’m going to say you have different reactions because you are emotionally connected and involved. I think thats what our earth needs; more emotional connection between the people and the spinning rock we call our home. We don’t need more advice on how or what to recycle because our landfills are filling up, we don’t need more news stories about sea otters dying in oil spills. We need more intimate relationships so we care and these things don’t happen in the first place. 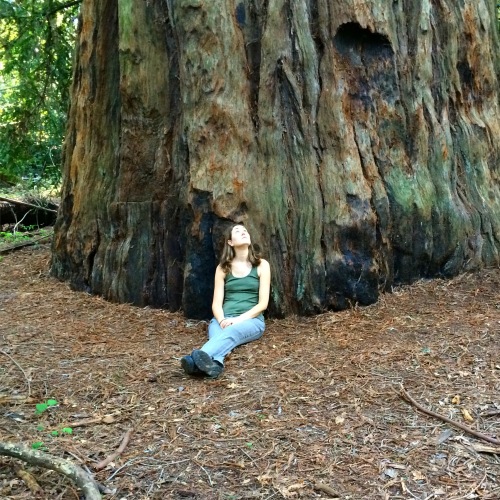
Wether by nature or nurture, I have always loved the natural world and have always felt an deep connection with our Mother Earth. I sum it up to growing up in the middle of nowhere without electricity as an only child: nature was always there, and therefore became by constant companion. I know nature. Nature is a friend. And because of this, I care. This is what drives me for every single choice I make every single day. How are my actions affecting my friend?
But not everyone has made these connection, Mother Earth may still be a stranger to you. And that’s ok, she’s always willing to make new friends.
Here are a few of my tips to get to know your earthly surroundings:
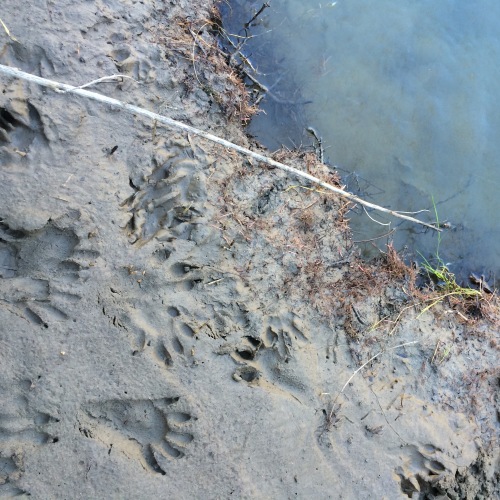
Get outside. This could be an open space preserve, a state park, a local park, a garden, even a well designed parking lot landscape. Spend actual time outside. Once you are there, sit or walk, it doesn’t matter. But get outside. Put your phone away. If you can’t sit still or need “something” to do, write or draw on actual paper. 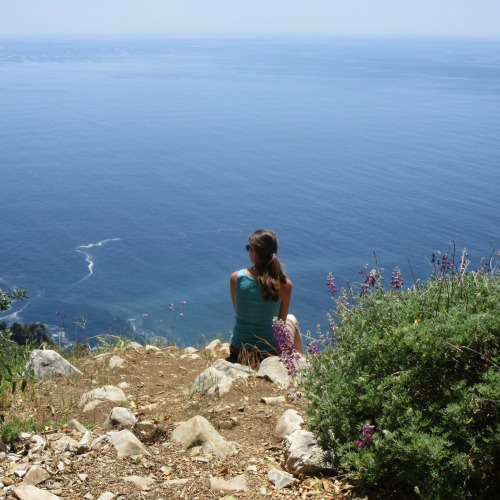
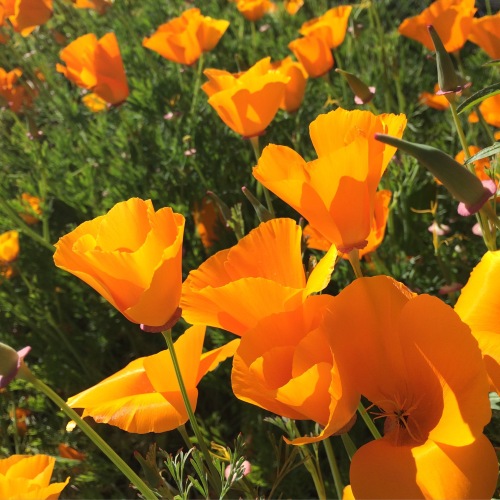
Look, Think. Look carefully. What kind of things do you see? Journalling is always a good way to capture what you observe. Too much to focus on, or don’t know what to look for, start with this: How many shades of green can you count? Actually try to count them. Why do you think some are lighter than others? Are there similar leaf shapes or sizes in the same shade? Do you have any objects or clothing items that match one of the shades? What other colors do you see? If you were a bird, what leaf would be best to hide under when it rains? If you were a bug, what leaf looks like it would be the yummiest to eat? If you were an animal that lived in this area, where would you go to get water? Where would you sleep? What kind of animals do you think stood in your same spot?
Give things names. Knowing= caring, and names help that. Learn the names of local plants and animals in your area. If you see them again, refer to them by name. If you aren’t sure the correct name, make one up. No idea what that little brown bird is that you see in your garden every morning and the one that pecks at your car side mirror? It might be a towhee, but you could call it a “long tailed mirror bird”. Ever plant has a botanical and a common name; consult books or a local naturalist for the correct name, or make one up that has meaning to you. For years, I knew the weed Dock as Indian Tobacco, because I heard once that the native people smoked it. It didn’t matter that I didn’t know the correct name, but I had a name and being able to identify it made me more connected with the place I was in. Give places within places a name. If you have a bench you sit on during lunch break, give it a name. A favorite section of a regular hike? Give it a name. Notice what it is like in those areas: what you see, hear, smell, feel. Is that similar to other places? When out and about, do you see or feel similar things as that place? 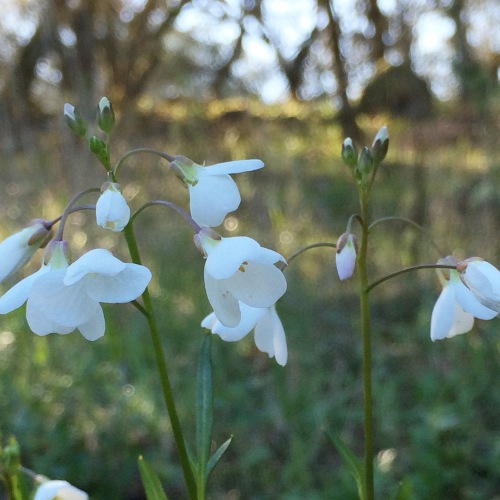
 Listen. Sit and just listen. How many sounds can you hear? If you are in a wild space, your list might be long with bird calls and wind. How many different birds are making those noises? Do you think its a large bird or a small bird? If you are near civilization, your list might include people or sirens. How might the sounds change based on the time of day? What do you think it sounded like 20 years ago? What will it sound like 10, 20, 100 years from now?
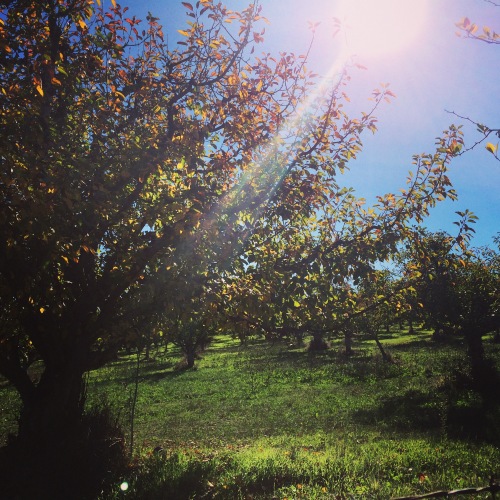
 Notice. If you are in an area long enough, check out where the sun sets each day. Where is the last place to get a beam of light? What is growing there? What is the first flower to open up in the morning, or the season? Make mental notes. Look to see if that flower grows in other peoples yards or in other wild spaces. Do you think it opens the same time?
 Repeat. Often. Very few of us can become forever friends with someone by only meeting once. Get outside and critically observe. Regularly.
“Those who contemplate the beauty of the earth find reserves of strength that will endure as long as life lasts” — Rachel Carson
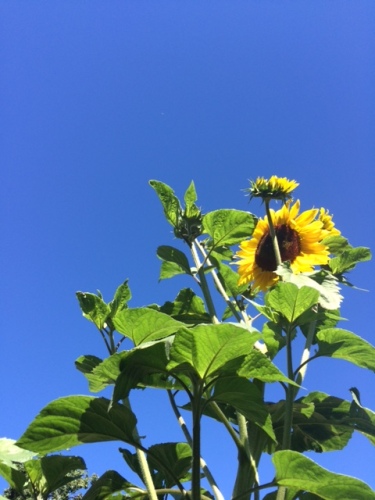
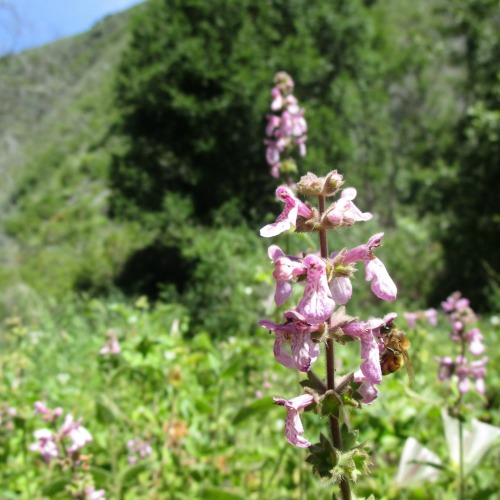
The other morning, I ventured out in my garden. Walking down my mulched pathway, I didn’t get far before I was actually brought to tears. At that exact moment, I saw a hummingbird feeding from bolted broccoli, a flock of tiny goldfinches raising up from eating aphids off my kale, and a nuthatch was jumping around in is crazy upside-down posture on the sides of my raised beds (hopefully eating rolly-pollies).
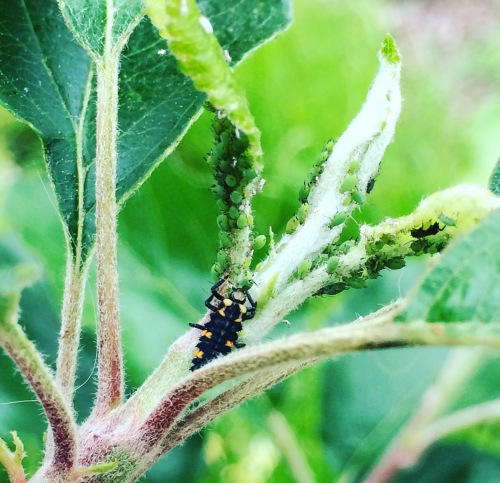
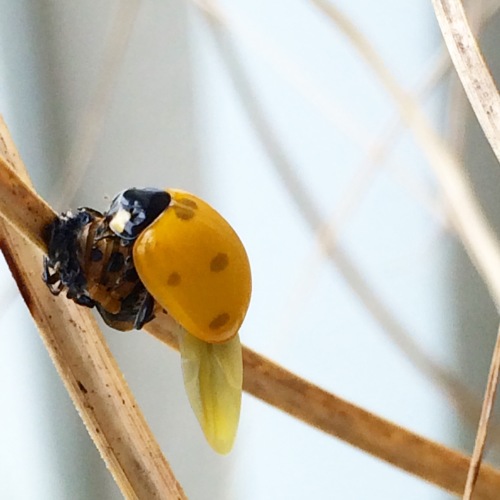
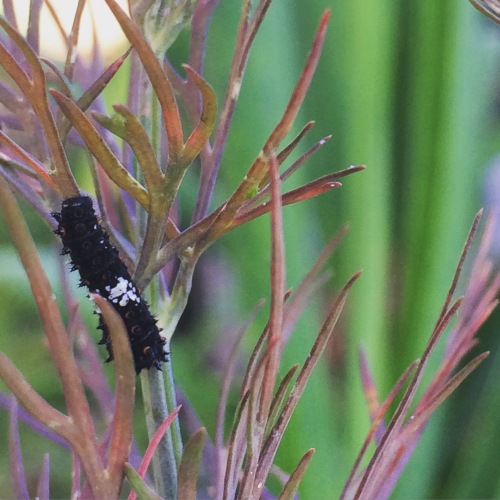
The birds quickly scattered away, alarmed by my presents, but my garden was still full of life. I saw aphids heavy on my apple tree, but they were being consumed by ladybugs and ladybug larva, solider beetles, and lacewings. Closer examination of my volunteer dill revealed two larva of Anise Swallowtail; I had seen one flittering above a few weeks before. Honeybees, carpenter bees, bumblebees and tiny native bees forage on bolted plants and the handful of flowers I have scattered about. If I turn over soil, I find worms. If I turn over logs I find skinks and occasionally salamanders. There are ladybugs of all life stages in my garden. 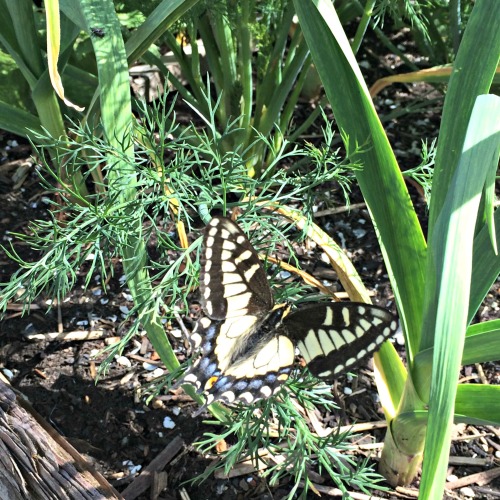
People garden for many reasons. Some to collect the newest or rarest specimens, some for stress relief, some for cutting flowers, or some for edibles. While I garden for many reasons, supporting natural life is the main one. Right now I have only edibles and a very few ornamentals planted, but have plans for extensive habitat gardens, including a pond. And despite not having “official” space set aside for the natural creatures, I still have tons of life thriving in my garden. And nothing makes me happier to know that I am creating a safe and healthy place that meets the needs of all these creatures, and even though my yard is a created ecosystem, it is acting as a part of nature.
